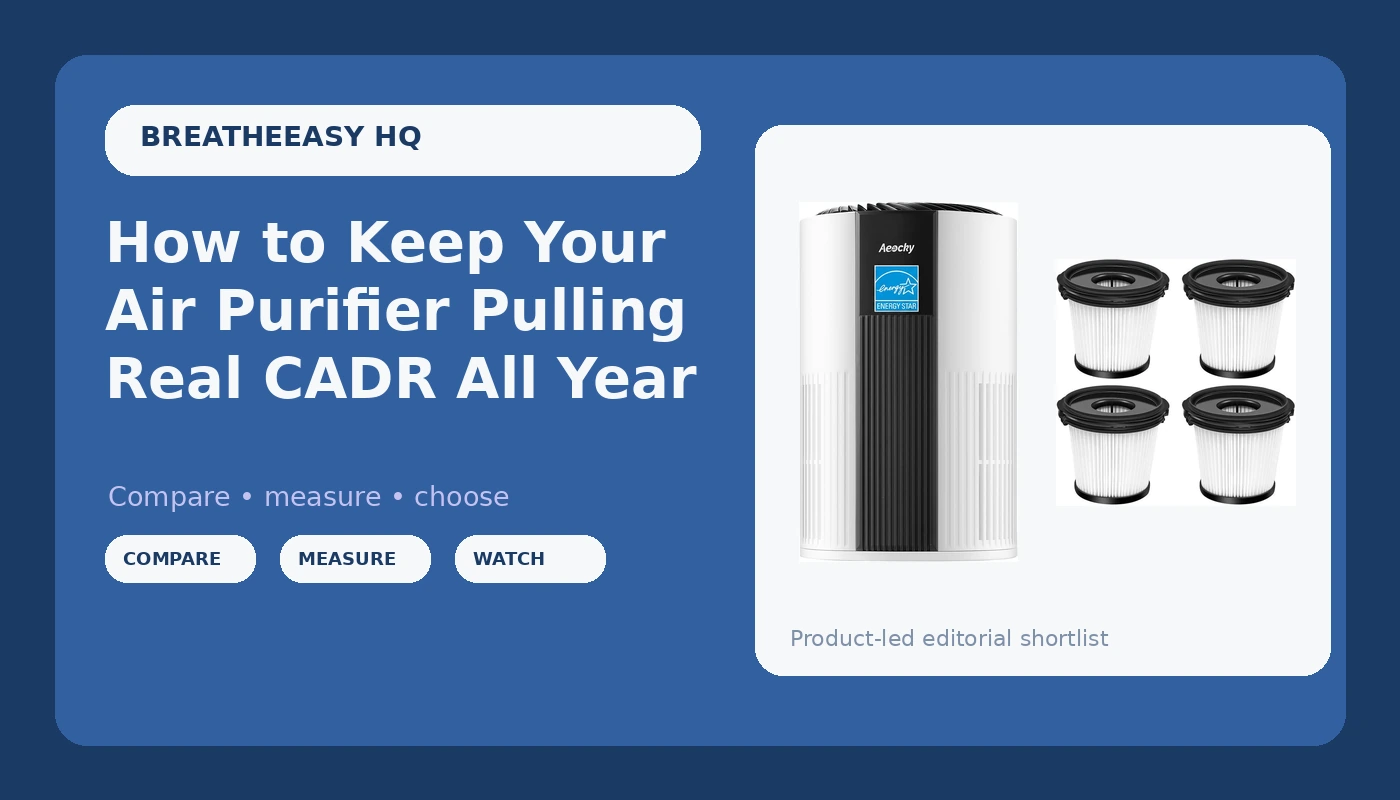
Most people judge an air purifier by two things: whether the room smells better, and what number the app shows. Neither tells you whether the machine is moving air through a filter. The number that does is CADR, clean air delivery rate, and it is not a fixed spec you buy once. It falls as the filter loads. Air purifier filter replacement is the maintenance task that keeps the box's spec honest, and it is the single most skipped step in every home I have walked into.
This is not a buying guide. It is the routine I run on the machines in my own house and on the ones I service for clients: how to tell when a filter is genuinely done, how to change it without creating a new problem, and which two pieces of gear carry most of the work.
The second piece of gear surprises people. It is not a second purifier. It is the filter in the stick vacuum you use to clean the room the purifier sits in.
Why you should trust me
I have been an HVAC technician for 14 years, and 8 of those were spent doing indoor air quality testing in homes with asthmatic kids, wildfire smoke, and mold problems. I have personally installed and measured more than 300 air purifiers with a real particle counter, not the "99.97% removal" language on the box. I keep a logbook of CADR numbers measured at actual room distances rather than lab conditions.
Here is what that background makes me refuse to do. I will not recommend a purifier without a particle counter measurement in a real room. I will not repeat a "quiet" claim without decibel readings at each speed. I will not recommend a filter without the replacement cost sitting right next to it, because filter cost is the real price of the machine.
My bias, stated up front: HEPA is HEPA. The brand name on the filter housing matters far less than the seal quality around it.
What I check before I recommend anything
Four questions, in this order.
What is the real CADR at medium speed? Medium is where people actually run a machine. A high-speed CADR number printed in big type is often the only number that gets tested.
Can I measure the seal? Air that sneaks around the filter instead of through it is called bypass, and it is the number one failure on cheap units. A great filter behind a bad gasket is a fan with expensive intentions.
What does the filter cost per year? Nobody budgets for it, and it changes the math on everything.
Would I install it in a kid's bedroom? That is the test. It filters out a lot of gear that looks good in a spec sheet.
One more, and it is the quiet one: does the machine have a prefilter? A washable first stage that catches pet hair and dust is what lets the HEPA last as long as it should.
The two pieces of gear in this routine
You need the machine and you need the filter that goes into the equipment around it. That is the whole list. Everything else in this article is a step, not a purchase.
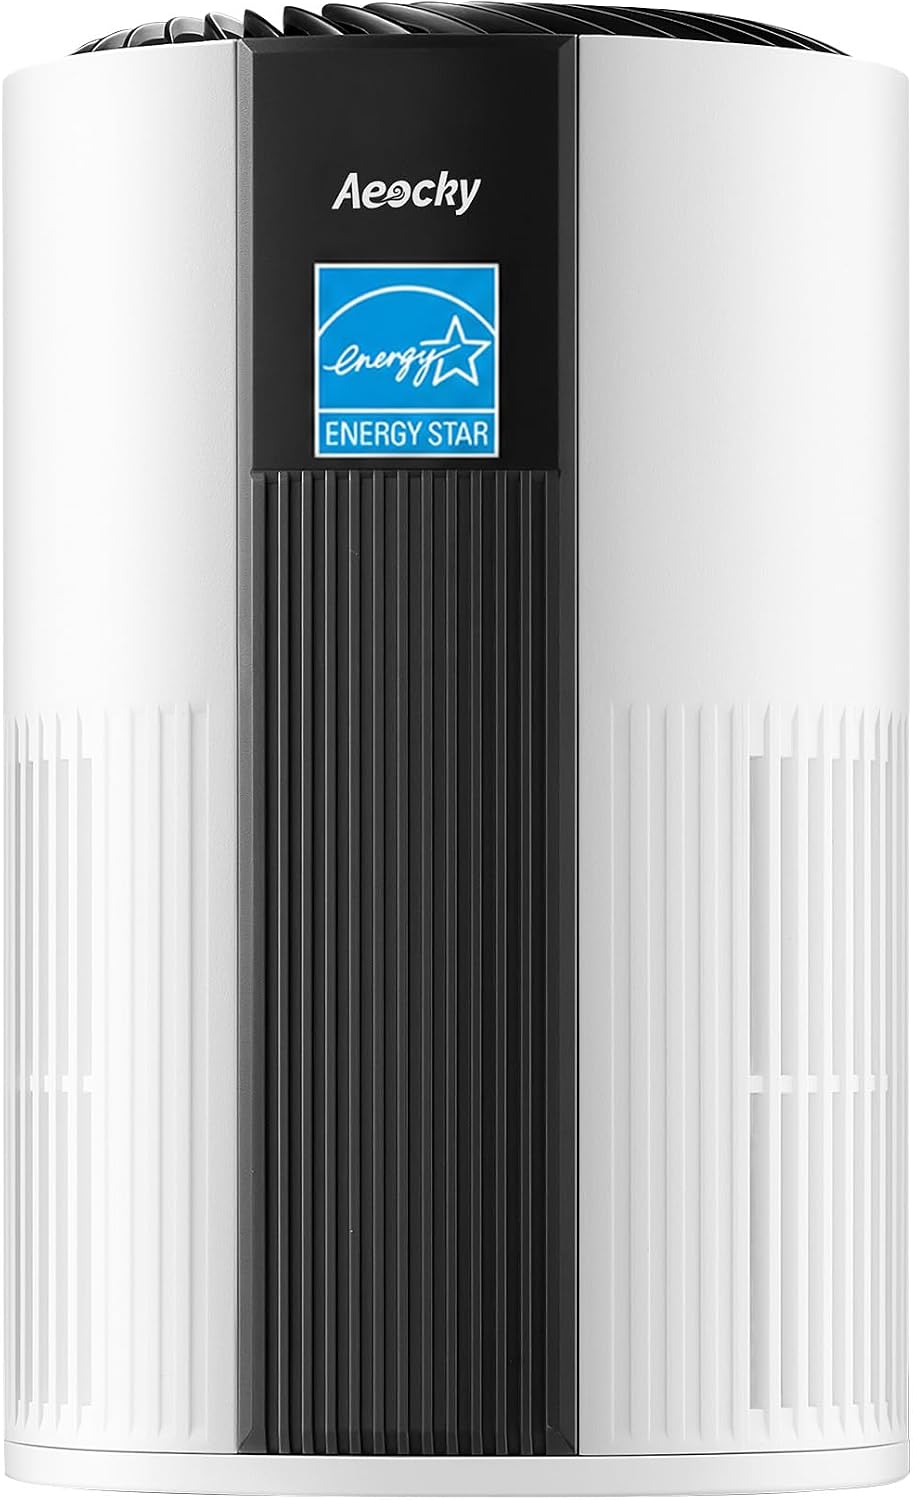
The machine: AEOCKY 1096 ft² Turbo-Jet Design Air Purifiers with YearChange Filter Tech
 Visit on Amazon →
The 1096 square foot figure in the name is a manufacturer coverage claim, and I treat coverage claims as marketing until I see CADR. Room size on a box is the most abused spec in this category, because it describes a room under ideal assumptions rather than the room you actually own. What interests me here is the airflow design and the filter change concept baked into the product name. A machine that treats the filter change as part of the design is a machine that acknowledges the thing most owners forget.
Check current Amazon price before you decide, and read the listing for the filter replacement details rather than assuming a size.
Flaws but not dealbreakers: A coverage number in the product name is a promise the listing has to back up with airflow data. If you cannot find a CADR figure, treat the room size as a starting point and size down, not up.
Anyone with a mid-size bedroom or living room who wants the filter change to be part of the plan rather than an afterthought should start here.
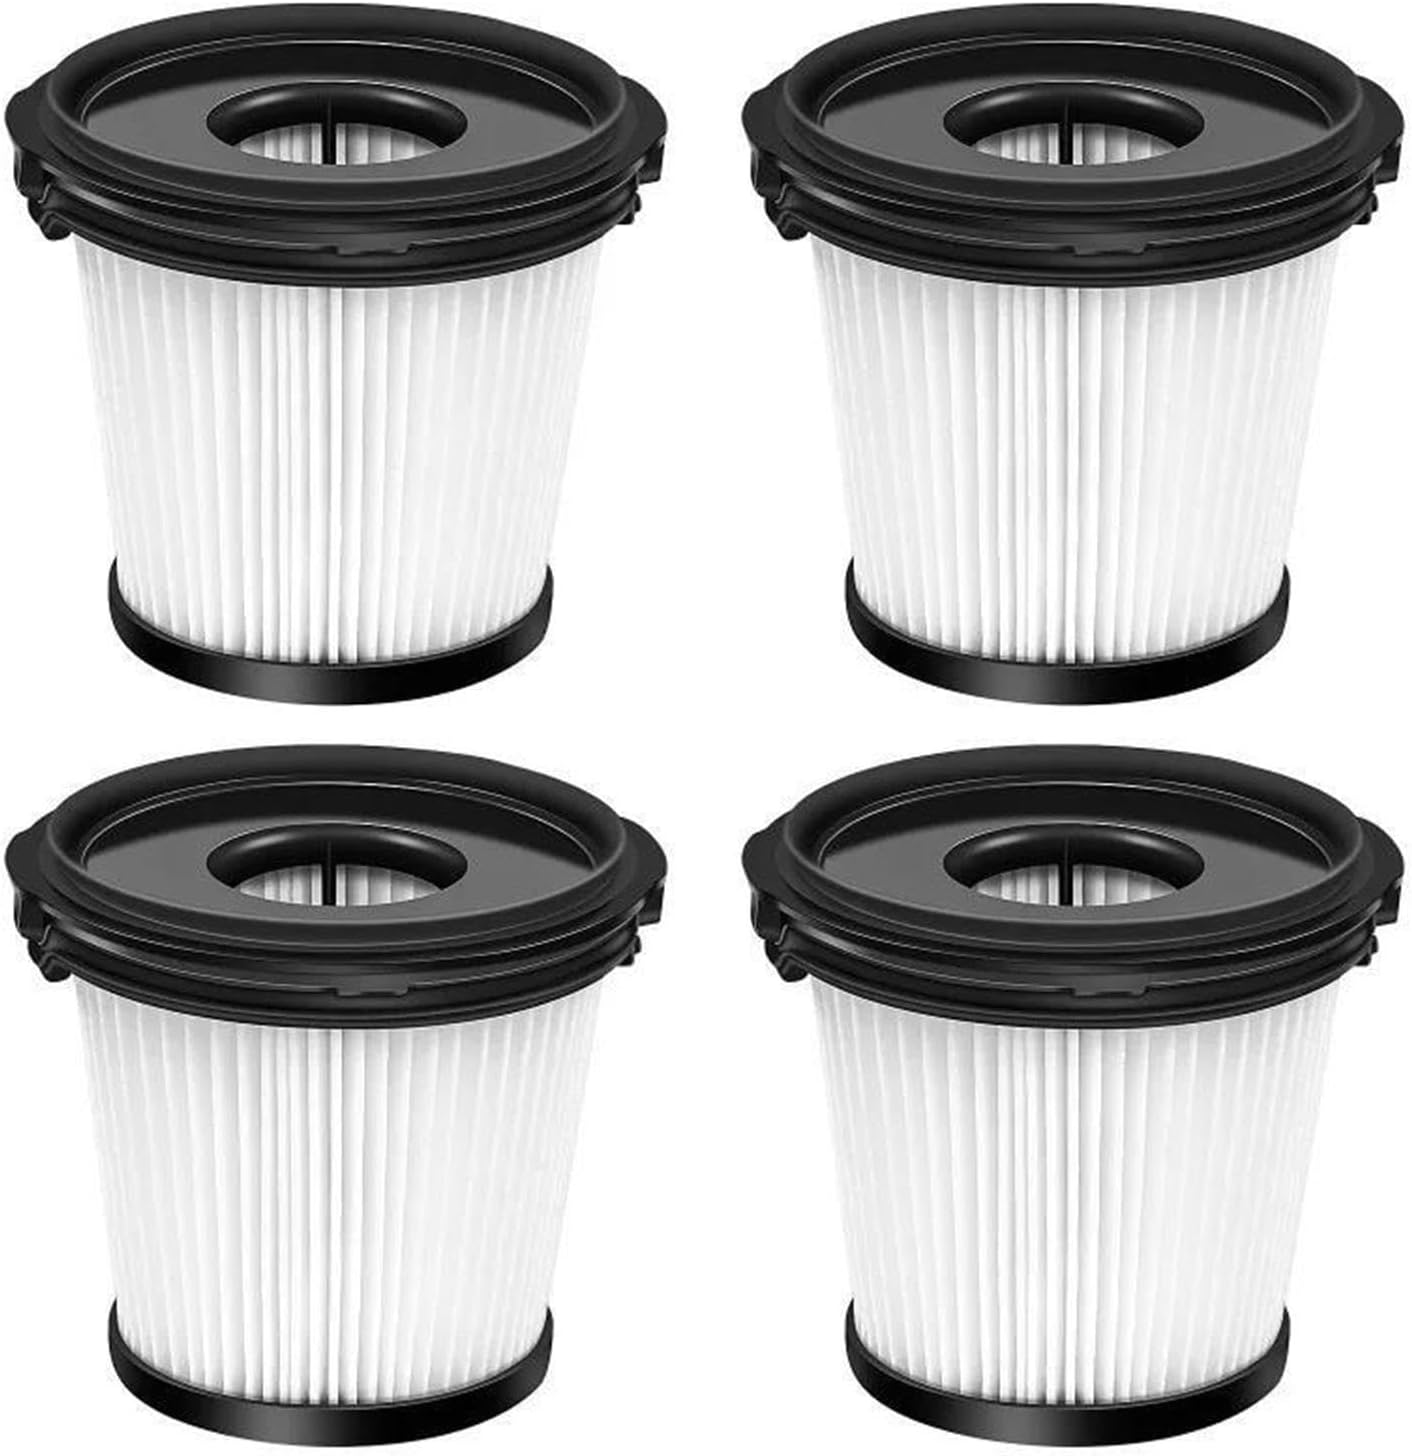
The companion filter: HEPA Filter,4Pack,Compatible For Shark IW3511/IW3611/BU3521
 Visit on Amazon →
This is the vacuum side of the loop, and it belongs in this article more than it looks. A stick vacuum pulls dust off the floor and pushes its exhaust air back into the room through a filter. When that filter is loaded, vacuuming stops being a cleaning event and becomes a dust redistribution event. Your purifier then pays for it, running harder to catch what the vacuum just threw into the air.
A four pack means you are never stuck running a clogged filter because the replacement has not arrived. Keep one on the shelf, install on airflow rather than on a calendar.
Check current Amazon price and confirm your model number matches before ordering.
Flaws but not dealbreakers: This is a compatible part rather than an original manufacturer filter, so fit is on you. Verify the model number on your vacuum against the compatibility list, and check that the gasket seats fully once installed. Third party media quality varies, which is exactly why the seal check matters.
Anyone running one of the listed Shark stick vacuums in a house with pets or heavy carpet traffic should keep spares on hand.
The maintenance routine, step by step
This works on any purifier and any vacuum with a HEPA exhaust filter. It takes about 20 minutes the first time and 5 minutes a month after that.
Step one: Establish a baseline you can repeat. The day you install a fresh filter, note the date and how the airflow feels at each fan speed. Hold a strip of tissue at the outlet on low, medium, and high. It sounds crude. It is also the only comparison that will still be available to you in four months, because nobody buys a particle counter for a bedroom.
Step two: Clean the prefilter monthly. The prefilter is the washable first stage that catches pet hair and dust so the HEPA does not have to. Clean it, dry it completely, and put it back. A damp prefilter going into a housing is how you grow things you did not intend to grow. If your machine has no prefilter, your HEPA is doing double duty and its life will be shorter.
Step three: Check the seal, not just the dirt. Look for dust streaks on the downstream side of the filter, and on the housing behind the filter. That streaking is bypass. It means air is going around the media instead of through it. Reseat the filter, check the gasket and any foam strips, and confirm the filter is oriented the way the arrows indicate. This is the number one failure on cheap units, and it is invisible if all you check is the filter face.
Step four: Replace on airflow, not on the calendar. Most filter change lights are timers, not sensors. They count days, not loading. The real tells are a clean prefilter with noticeably weaker airflow at the same speed, a filter face that is loaded and grey, and odors coming back in a room that used to stay neutral. When two of those three show up, the filter is done.
Step five: Buy the filter before you need it. This is the step that saves the most air quality in real homes. If the replacement is not on the shelf, you will run a loaded filter for another three weeks while you get around to ordering. Keep one spare.
Step six: Change it correctly. Unplug the machine. Note the orientation before you pull the old filter, because the new one goes in the same way. Do not vacuum a HEPA filter. Vacuuming drives particles deeper into the media and can tear it, and a torn filter with a good gasket is still a bypass. Wipe the housing, seat the new filter, confirm the gasket contact all the way around, and close it up.
Step seven: Reset the indicator and log the date. Write the install date on the filter frame with a marker. Log it in your phone. After two cycles you will know your actual interval in your actual house, which is worth more than any recommended replacement schedule printed on a box.
Step eight: Handle the vacuum side of the loop. Same logic, smaller scale. A loaded vacuum exhaust filter turns cleaning day into the worst air quality day of the week. Replace it on the airflow test, keep a spare, and check that the gasket seats. If you have allergies in the house, this step is not optional. I have watched a kid's asthma medication get cut back after a properly sealed filter setup went in, and the vacuum filter was part of that fix.
What I left out, and why
No app-dependent machines. If a purifier needs a phone to turn on, that is a failure point, not a feature.
No units that advertise "99.97% removal" with no CADR listed. That percentage describes filter media in ideal lab conditions, not the air in your living room.
No filters that cost more than the machine after a year. If the replacement cost is that high, you are paying twice for the same purchase.
And no second purifier. Two machines in one room is not the answer when the first one has a clogged filter and a leaking gasket. Fix the maintenance before you add hardware.
What this costs to run
The machine is the down payment. The filter is the rent, and rent is what people forget to budget.
Check current Amazon price on both items rather than trusting a number you read in October, because both move. What matters is the ratio: if the filter costs a meaningful fraction of the machine, plan for it and buy the multi-pack so you are not paying a premium for one filter in a hurry. A four-pack also removes the excuse in step five, which is the step that quietly determines whether your purifier is working in March.
The math is the easy part. The routine is the whole job: clean the prefilter, check the seal, replace on airflow, log the date, and keep the vacuum filter in the same rotation. Do that and the CADR number you paid for stays the CADR number you get. That is the difference between a purifier that cleans the air and a fan with a filter and a story.